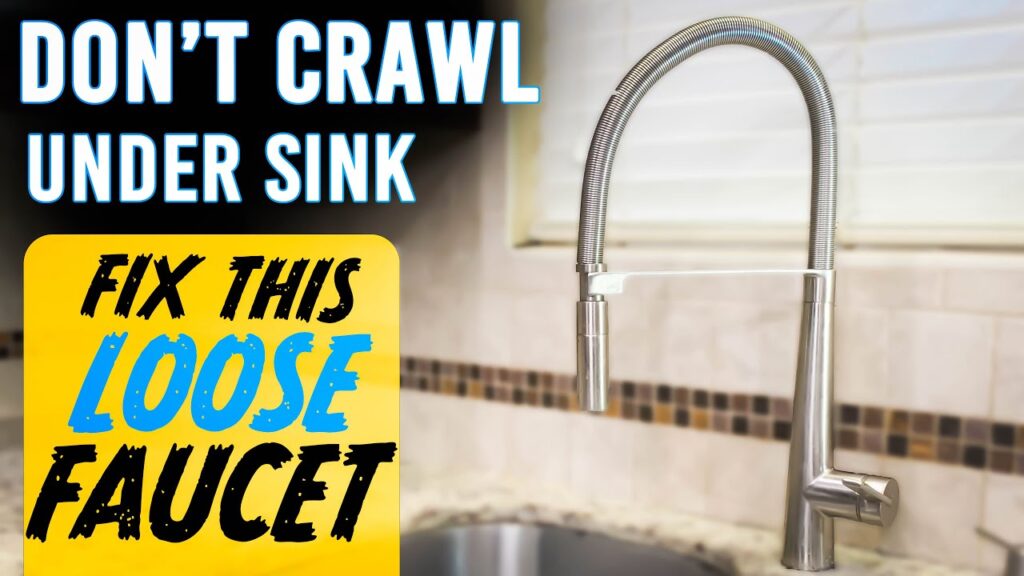
How to Tighten a Loose Faucet: A Comprehensive Guide
A loose faucet can be more than just an annoyance; it can lead to wasted water, increased water bills, and even potential water damage to your sink and surrounding areas. Learning how to tighten a loose faucet is a valuable skill that can save you money and prevent more significant plumbing problems down the line. This comprehensive guide provides step-by-step instructions and expert tips on identifying the cause of the looseness and effectively tightening your faucet. We’ll cover various faucet types and common issues, ensuring you have the knowledge to tackle this common household repair.
Identifying the Cause of a Loose Faucet
Before you start tightening anything, it’s crucial to understand why your faucet is loose. Several factors can contribute to this issue:
- Loose Mounting Nuts: These nuts secure the faucet to the sink. Over time, they can loosen due to vibrations and regular use.
- Worn-Out Washers: Washers provide a tight seal and prevent leaks. If they wear out, the faucet might become loose.
- Corroded Parts: Corrosion can weaken the faucet’s components, leading to instability.
- Damaged O-Rings: O-rings create a seal between the faucet handle and the faucet body. Damage to these rings can cause looseness.
- Loose Set Screws: These screws hold the handle in place. If they are loose, the handle and sometimes the entire faucet can feel wobbly.
Tools and Materials You’ll Need
Gathering the necessary tools and materials beforehand will streamline the tightening process. Here’s a list of essentials:
- Adjustable Wrench: For tightening nuts and bolts.
- Screwdrivers (Phillips and Flathead): For removing handles and accessing internal components.
- Penetrating Oil: To loosen stubborn nuts and bolts.
- Plumber’s Putty or Silicone Sealant: For creating a watertight seal.
- Old Towels or Rags: To protect the sink and clean up spills.
- Basin Wrench (Optional): For reaching hard-to-access mounting nuts.
- New Washers and O-Rings (Optional): If you suspect these are worn out.
Step-by-Step Guide to Tightening a Loose Faucet
Follow these steps to effectively tighten a loose faucet. Remember to turn off the water supply before starting any repairs.
Step 1: Turn Off the Water Supply
Locate the shut-off valves under the sink. There should be separate valves for hot and cold water. Turn both valves clockwise until they are completely closed. If you can’t find individual shut-off valves, you may need to turn off the main water supply to your house. Test the faucet to ensure the water is completely off before proceeding.
Step 2: Protect the Sink
Place old towels or rags around the base of the faucet to protect the sink from scratches and to absorb any water that might spill during the repair.
Step 3: Identify the Faucet Type
Different faucet types require slightly different approaches. Common types include:
- Compression Faucets: These have separate handles for hot and cold water.
- Ball Faucets: These have a single handle that controls both temperature and flow.
- Cartridge Faucets: Similar to ball faucets, but use a cartridge mechanism.
- Ceramic Disc Faucets: These use ceramic discs for precise water control.
Step 4: Tighten the Mounting Nuts
This is often the first place to check when trying to tighten a loose faucet. Reach under the sink and locate the mounting nuts that secure the faucet to the sink. Use an adjustable wrench to gently tighten these nuts. Be careful not to overtighten, as this could damage the faucet or the sink. If the nuts are corroded or difficult to reach, apply penetrating oil and wait a few minutes before attempting to tighten them. A basin wrench can be helpful for nuts in tight spaces.
Step 5: Check and Tighten Set Screws
Look for set screws on the faucet handle. These are typically small screws that hold the handle in place. Use a screwdriver to tighten these screws. Sometimes, the set screws are hidden under decorative caps that can be pried off with a small flathead screwdriver.
Step 6: Inspect and Replace Washers and O-Rings
If tightening the mounting nuts and set screws doesn’t solve the problem, you may need to inspect and replace worn-out washers and O-rings. This requires disassembling the faucet. Start by removing the handle. Depending on the faucet type, this may involve unscrewing a set screw or simply pulling the handle off. Once the handle is removed, you can access the internal components. Inspect the washers and O-rings for signs of wear or damage. Replace any worn-out parts with new ones of the same size and type.
Step 7: Apply Plumber’s Putty or Silicone Sealant
Before reassembling the faucet, apply a thin layer of plumber’s putty or silicone sealant around the base of the faucet where it meets the sink. This will create a watertight seal and prevent future leaks. [See also: How to Replace a Kitchen Faucet]
Step 8: Reassemble the Faucet
Carefully reassemble the faucet, making sure all parts are properly aligned. Tighten all screws and nuts securely, but be careful not to overtighten. Once the faucet is reassembled, turn the water supply back on and check for leaks. If you see any leaks, turn off the water supply again and tighten the connections further or reapply plumber’s putty or silicone sealant.
Tips for Preventing Loose Faucets
Preventing a faucet from becoming loose in the first place can save you time and effort. Here are some tips:
- Regularly Check Mounting Nuts: Periodically check the mounting nuts under the sink and tighten them if necessary.
- Replace Worn-Out Parts Promptly: Don’t wait until a faucet is completely loose before replacing worn-out washers and O-rings.
- Avoid Over-Tightening: Overtightening screws and nuts can damage the faucet and actually contribute to looseness.
- Use Quality Faucets: Invest in high-quality faucets that are less prone to loosening and other problems.
- Proper Installation: Ensure the faucet is properly installed from the beginning to prevent future issues.
Troubleshooting Common Issues
Sometimes, tightening a faucet can present unexpected challenges. Here are some common issues and how to address them:
- Corroded Nuts and Bolts: If nuts and bolts are heavily corroded, they may be difficult to loosen. Apply penetrating oil and wait several hours before attempting to loosen them. If they are still stuck, you may need to use a nut splitter or other specialized tool.
- Stripped Screws: If a screw is stripped, it may be impossible to tighten it. Try using a rubber band or steel wool between the screwdriver and the screw head to get a better grip. If that doesn’t work, you may need to replace the screw.
- Leaking After Tightening: If the faucet is still leaking after tightening, there may be damage to the faucet body or internal components. In this case, it may be necessary to replace the entire faucet.
When to Call a Professional
While many faucet tightening tasks can be done yourself, there are times when it’s best to call a professional plumber. Consider hiring a plumber if:
- You are uncomfortable working with plumbing.
- You are unable to identify the cause of the looseness.
- The faucet is severely damaged or corroded.
- You encounter unexpected problems during the repair.
A professional plumber has the expertise and tools to diagnose and repair complex plumbing problems, ensuring the job is done correctly and safely.
Conclusion
Knowing how to tighten a loose faucet is a valuable skill that can save you time, money, and potential water damage. By following the steps outlined in this guide, you can effectively address this common household issue and keep your faucets functioning properly. Remember to always turn off the water supply before starting any repairs and to use caution when working with tools. With a little patience and the right tools, you can tighten a loose faucet and enjoy a leak-free and stable fixture. Understanding the underlying causes of why a faucet becomes loose – from worn washers to loose mounting nuts – empowers you to proactively maintain your plumbing fixtures. Don’t hesitate to consult a professional if you encounter challenges beyond your comfort level. Properly maintaining your faucets ensures a functional and efficient plumbing system in your home.
